Almost every winding machine quotation includes a wire diameter range. It is usually one line in a table, and it is usually the least useful number in the table for a buyer with a mixed part portfolio. A machine is a chain of components, and each link has its own working window. The tensioner, the guide and nozzle, the dereeler, the clamp and cutter, the termination tooling and the stored program all have to suit the wire. The usable range of the whole system is the overlap of those windows, not the widest claim any single link can make.
This article describes how to test that overlap before an order is placed. It assumes no particular machine brand and quotes no performance figures, because the only evidence that matters for your parts is what happens when your wire runs on the candidate machine at both ends of your own range.
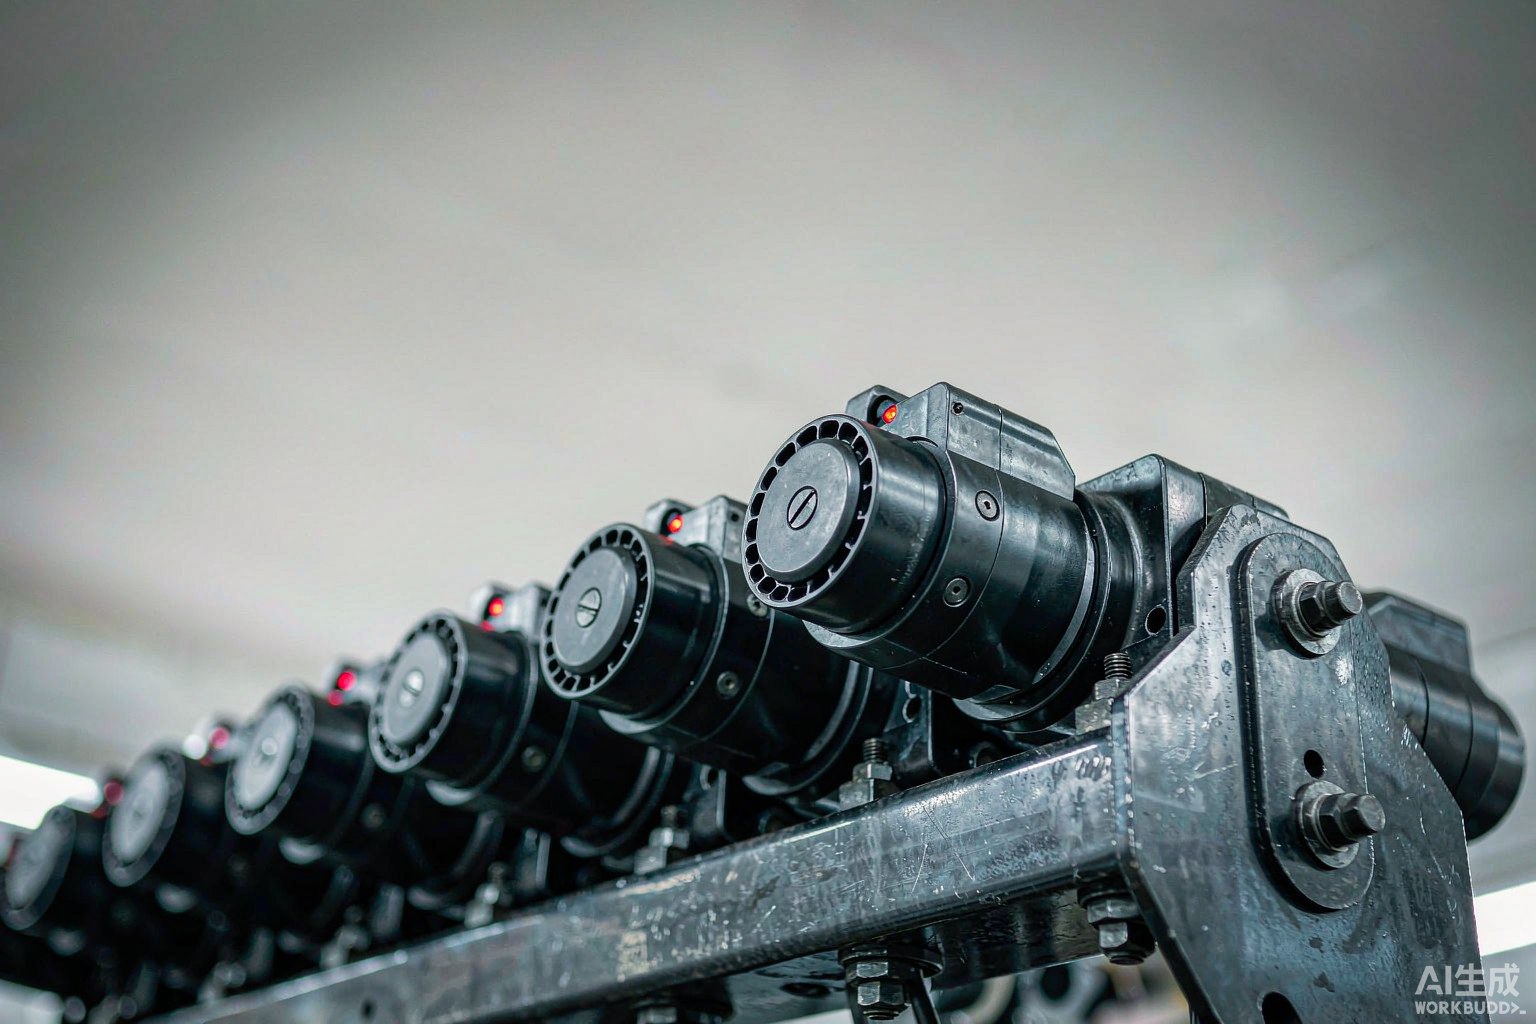
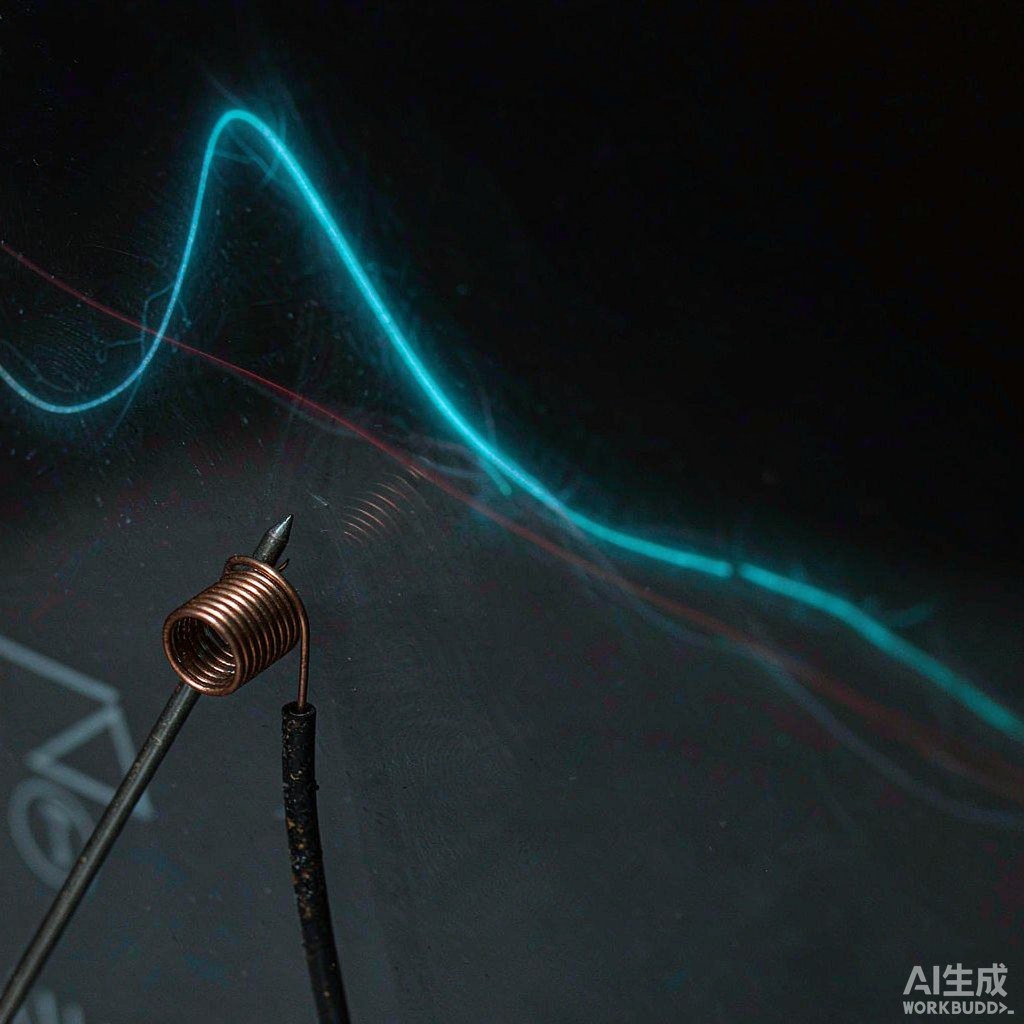
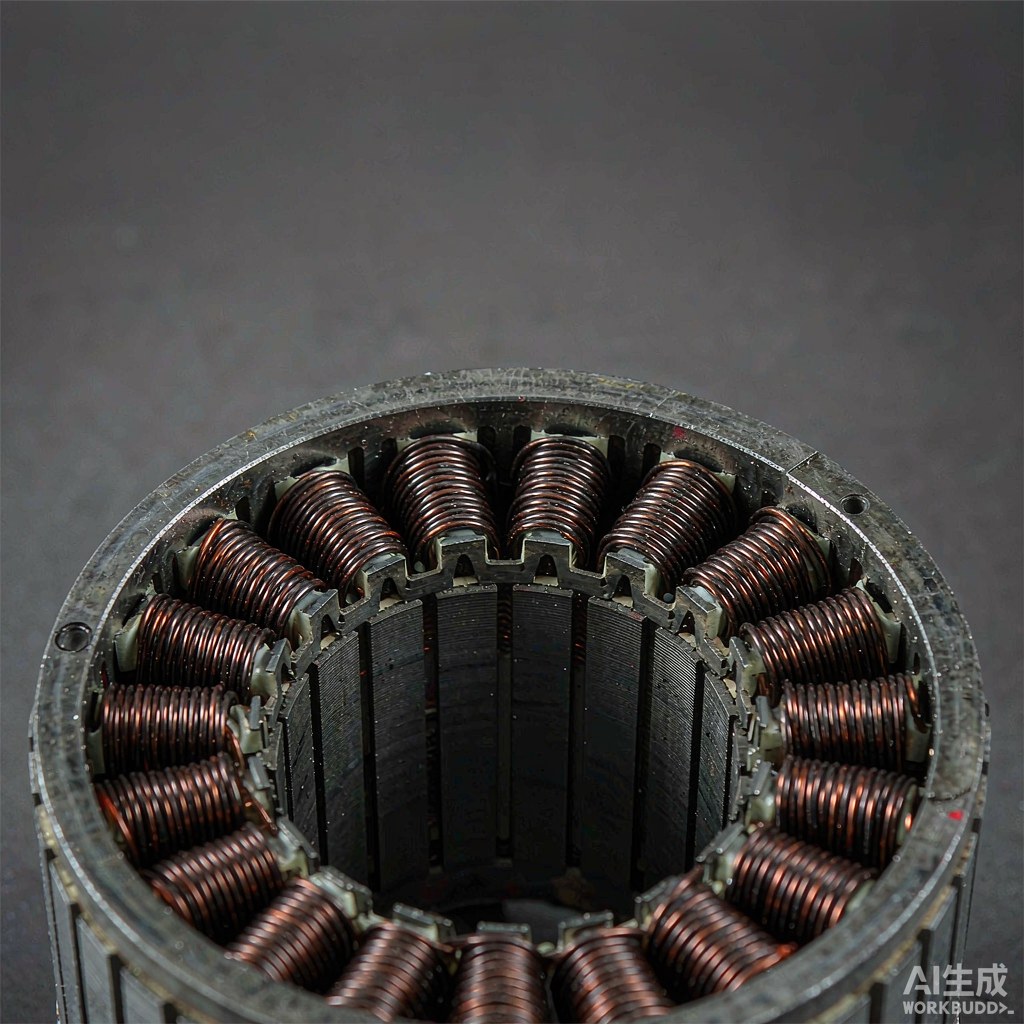
Fig. 1 - Mechanical subassemblies of winding equipment shown as a component study. Illustrative image, AI-generated. Not a product photograph or a measurement record.
1. Why a Quoted Range Is Not a Single Number
A supplier may quote a range for the basic machine, a narrower range for a particular tension head, and a narrower range again for a given nozzle or guide size. Those are three different statements, and a quotation that lists only the first is not wrong so much as incomplete. The same applies to insulation grade: two wires of identical conductor diameter can behave differently if one has a heavier coating, a different surface finish or a different stiffness. Round wire and bonded wire also place different demands on guides and on heat management.
Treat the quoted range as an opening question. Ask which tension head, guide set and program library produced it, whether the extremes were demonstrated on a real part, and what changes when the wire changes. A precise answer about configuration is far more informative than a wide number with no conditions attached.
2. Map the Range to Your Actual Part Mix
Start with a short list of the parts you intend to run: conductor diameter, coating type, spool format, bobbin geometry, turn count and the tolerance that matters for each. Mark the smallest and largest wire, then note which parts are high volume and which are occasional. A machine bought for a single stable part has a very different optimum from one bought for frequent changeover, and paying for extremes that appear once a year can push the design away from the middle of the range where most production happens.
Also decide whether the range must cover parts you expect to add later. That is a legitimate requirement, but it should be written as a future configuration with a defined changeover, not silently assumed to be included in the base price. Keeping the present mix and the future wish list in separate columns prevents a specification that is simultaneously too broad and too vague.
3. The Tension Head Is Usually the Constraint
Fine wire needs a tensioner that can resolve small forces without sticking, overshooting or adding drag at start-up. Heavy wire needs enough capacity, grip and heat dissipation to hold tension without slipping or marking the coating. A single mechanical tensioner may cover both in principle and neither comfortably in practice, which is one reason suppliers offer several heads for one machine frame. Closed-loop systems with a sensor can widen the window, but their feedback settings, damping and response at acceleration still have limits.
The dereeler matters as much as the head. Spool mass, pay-off direction and inertia create tension transients every time the spindle starts or stops, and those transients scale with the wire. Ask to see the tension behaviour at the beginning and end of a layer, not only a steady reading in the middle of a run, and ask which parts are adjusted when the spool is changed.
| Interface | What limits the range | Evidence to request |
|---|---|---|
| Tension head | Force resolution at fine wire, capacity at heavy wire | Tension behaviour on your own wire at both ends |
| Guides and nozzle | Bore, finish and wear rate for each size | List of wear-part sizes and changeover steps |
| Dereeler and spool | Pay-off inertia and start-stop transients | A run from a full spool down to near empty |
| Clamp and cutter | Grip and cut quality at the upper diameter | Sample cuts at the largest wire you plan to run |
| Program library | Stored settings per wire and per part | Export of recipes showing what is adjustable |
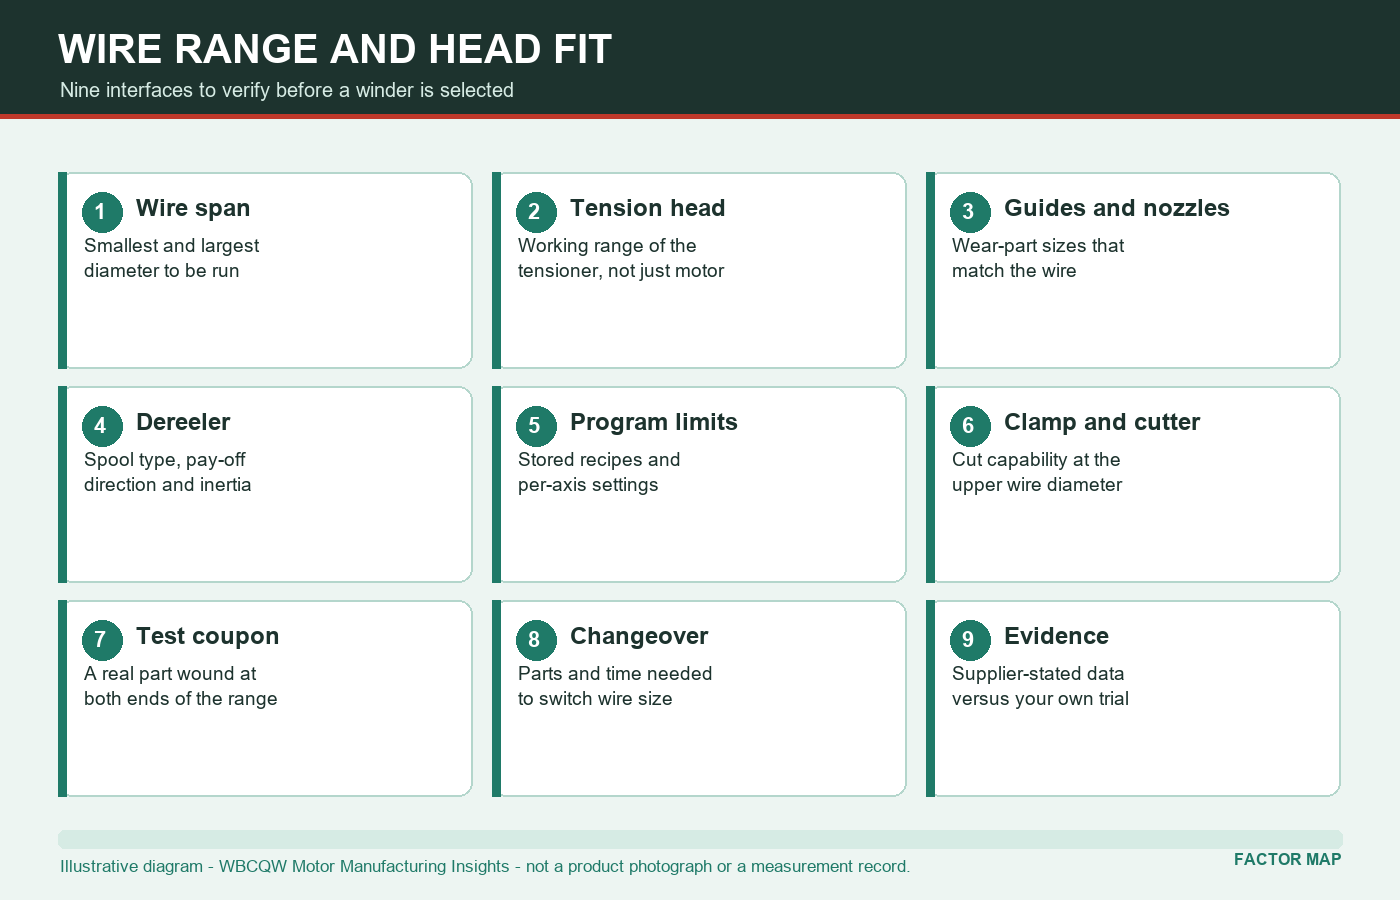
Fig. 2 - Nine interfaces that define the usable wire range of a winding system. Illustrative diagram, not a product photograph or a verified test result.
4. Downstream Parts Also Have a Working Window
A wire that passes cleanly through the tensioner can still be damaged at the guide, crushed by a clamp sized for a thinner conductor, or left with a ragged end by a cutter designed for a heavier one. Termination tooling and test probes add further constraints. These items are often treated as consumables, so their contribution to the quoted range is easy to overlook until a trial produces a bad part that nobody can attribute to a single station.
Ask for the wear-part list with sizes, part numbers and the changeover procedure. If the machine needs different guides, a different nozzle and a different clamp jaw to move from one end of your range to the other, that is not a defect; it is a specification. What matters is that the parts, the time and the settings are known before the machine arrives, rather than discovered during the first production changeover.
5. Ask for a Two-End Trial on Your Own Wire
The most useful acceptance evidence is a pair of runs: one at the smallest wire in your list and one at the largest, both using your bobbins and your insulation grade, with the same measurement method applied to the finished parts. Record the tension behaviour, the appearance of the winding, the cut and termination quality, and the measurements that matter for the part. Keep the samples. A trial on one mid-range diameter proves very little about either extreme, and a trial on the supplier's own wire proves little about yours.
During the trial, note what had to be changed between the two runs. If the settings, guides and head all changed, then the quoted range is really a set of configurations, and the changeover belongs in the specification. Supplier-stated values and your observations should be written separately, so that neither is later quoted as an independently verified result.
6. Limits, Changeover and a Purchase Checklist
A successful short trial demonstrates capability, not long-run stability. Wear, temperature, operator habits and spool variation appear over weeks, not over two sample parts. A fair specification therefore separates demonstrated capability at delivery from ongoing process control, and includes the spare parts and verification routine needed to sustain it. It also avoids treating a supplier's brochure range as a certified performance limit.
Before signing off, walk the chain once more.
List every wire diameter and coating in the present part mix.
Identify which tension head, guides and program cover each end of the range.
Confirm the dereeler handles a full spool and a nearly empty one.
Check clamp, cutter and termination tooling at the largest wire.
Run both extremes on your own parts and keep the samples.
Document changeover parts, time and settings as part of the scope of supply.
A wire range is a property of a configured system running a specific part. Turning the single line in a quotation into that fuller description is the cheapest way to avoid a machine that is technically within specification and practically difficult to use.