A winding trial on an exhibition floor is a short, noisy, public exercise, and it is easy to leave with an impression instead of a result. The difference is almost always the sample and the notes that travel with it. A representative part, a documented wire lot and a written question turn a demonstration into evidence that can still be compared weeks later. Bring the wrong bobbin or an unrecorded enamel grade and even a clean winding proves little. Our root-cause checklist for wire breakage shows how often a trial outcome is misread simply because the material was never described. This article is about preparing the part and the record before the machine is even switched on.
Why a show trial needs a written objective
Decide what the trial must answer before packing anything. A vague goal such as seeing whether the machine can wind the part produces a demo, not a test. A written objective names one or two questions: whether a layer crossover stays stable, whether a fine wire survives the intended traverse, or whether turns per layer hold at a given pitch. Fewer, sharper questions are easier to observe in a busy hall.
Choosing parts that represent the real variant mix
Bring the part that actually causes trouble, not the easiest one in the range. If production covers several sizes, select samples across the variant mix: the smallest window, the largest flange, the awkward lead exit, and a mid-range part as a control. A trial on one forgiving geometry tells you nothing about the ends of the range where setup time and breakage concentrate.
Use production-intent parts wherever possible. A prototype bobbin with a slightly different flange radius, or a 3D-printed substitute, can change how the wire climbs at the reversal and give a misleading result. Label every sample with its part number, revision and tooling source, and keep duplicates so a damaged piece does not end the session. Note deliberately which variants were left out, since that absence is part of the result.
Wire, bobbin and insulation data to bring
The wire is a variable, not a given. Bring enough of the actual production spool, and record the bare diameter, enamel grade and lot as measured from that spool. A lot at the thin end of tolerance changes packing and resistance, so a trial wound with a different reel is not comparable to the line it is meant to represent. Carry a short written wire sheet rather than relying on the spool label alone.
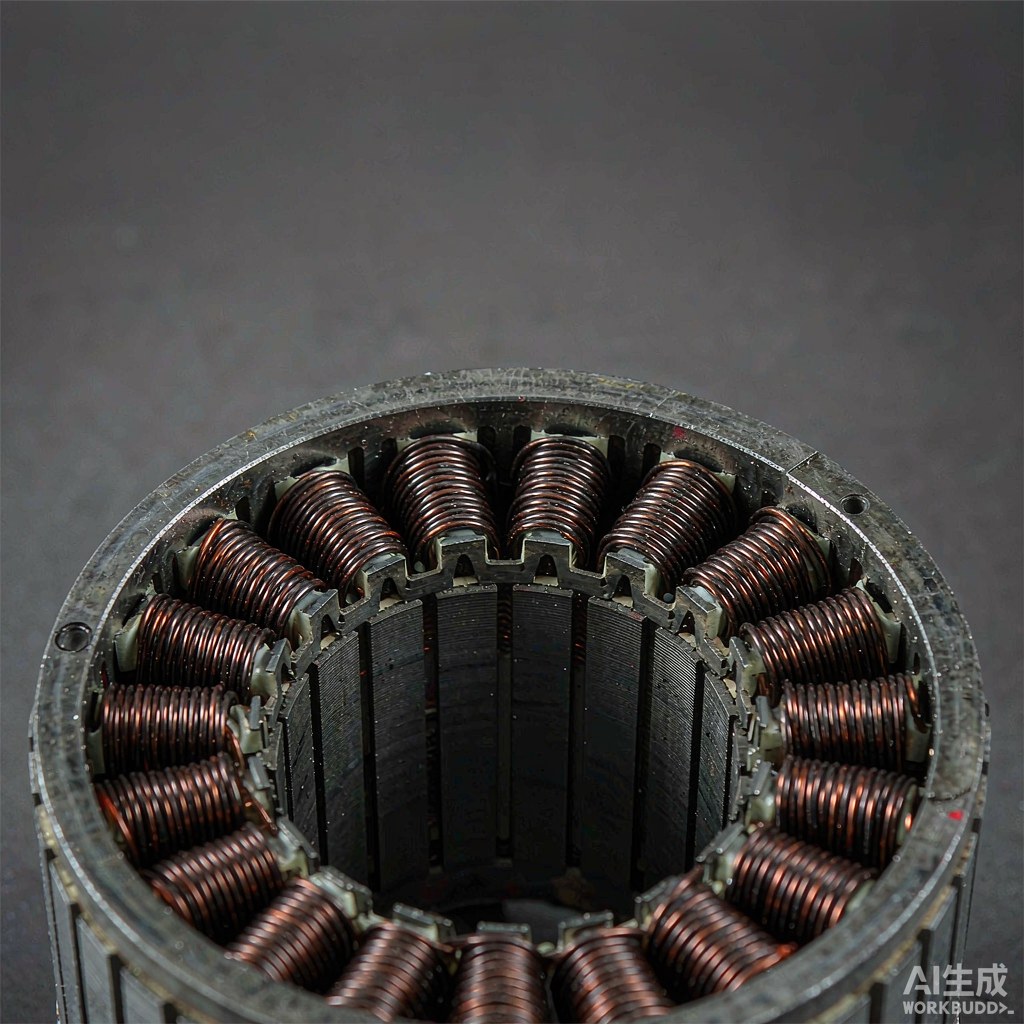
Document the mating parts with the same care: bobbin or stator drawing revision, flange and slot dimensions, winding window, direction, lead exit positions, and any interlayer or insulation sheet. Note the insulation system and the clearance the finished coil must fit. These details determine the traverse and the layer transition, and a trial that omits them cannot be reproduced at home. Our guide to documenting coil geometry and insulation lists the fields worth capturing.
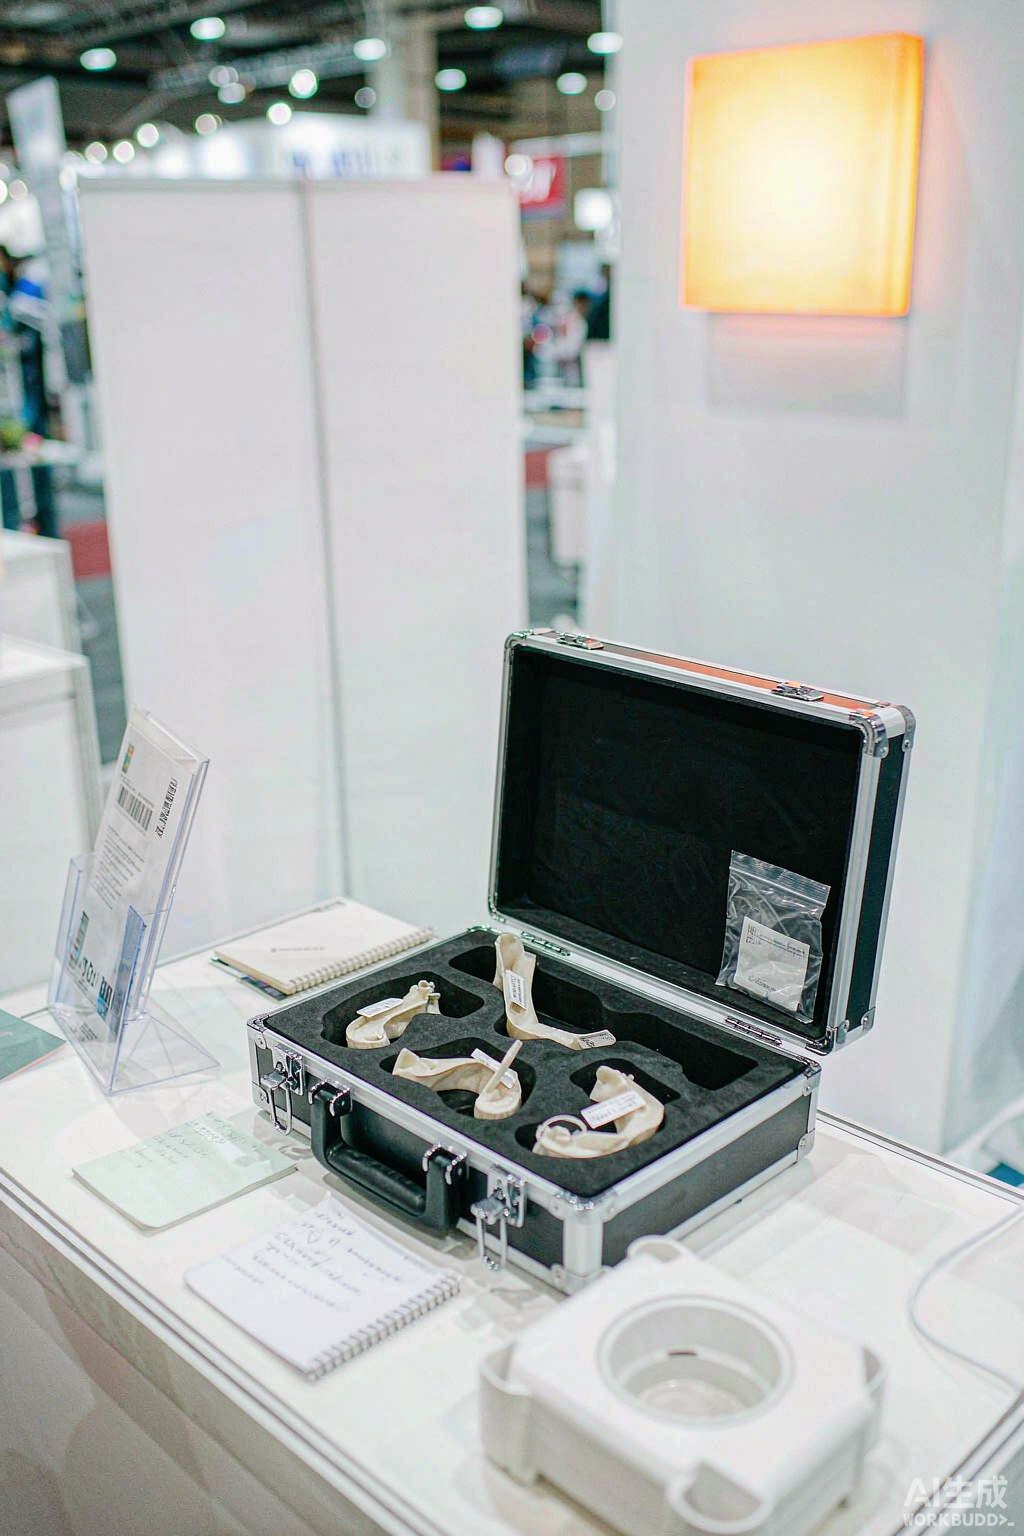
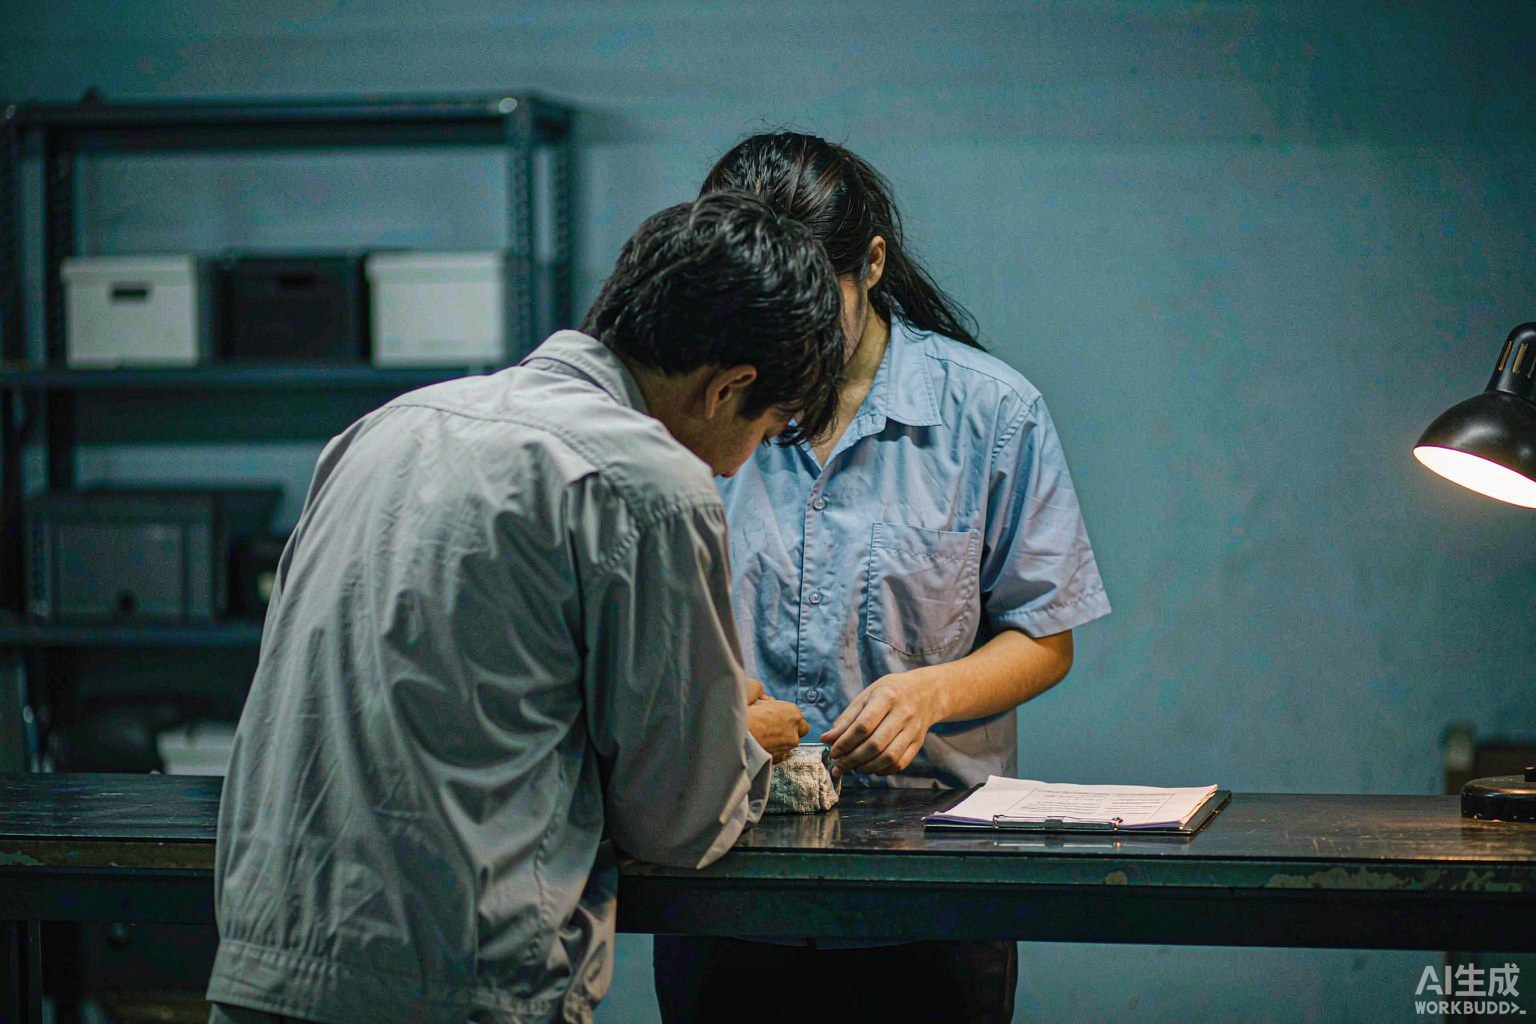
Fig. 1 - A prepared sample kit turns a short show-floor trial into comparable evidence. Illustrative image, AI-generated, not a product photograph.
Defining the trial conditions and the pass criteria
Agree the conditions before the first turn. State the tension approach, the traverse pitch basis, the speed and the number of parts to be wound, and decide who stops the run if a fault appears. On a show floor there is pressure to run fast and to keep the demonstration moving, so the agreed conditions protect the test from the venue. A low-speed first article is often more informative than a full-speed showpiece.
| Sample item | What to bring | Why the trial needs it | What to record |
|---|---|---|---|
| Production part samples | Several variants plus a control | Reveals behaviour across the real range | Part number, revision, tooling source |
| Wire from the line | The actual production spool | Packing and resistance depend on the lot | Bare diameter, enamel grade, lot |
| Bobbin or stator data | Current drawing and dimensions | Fixes traverse and layer transition | Revision, window, lead exit, direction |
| Insulation details | Interlayer sheet and clearances | Determines fit and crossover design | Insulation system, required clearance |
| Written objective | One or two test questions | Keeps the demo focused | The agreed questions and conditions |
| Pass-criteria sheet | Checkable inspection list | Allows a result to be judged later | Criteria, soak time, instrument |
| Record kit | Labels, bags, notebook, camera | Makes parts self-identifying after travel | Run number, photos, deviations |
Recording results so they survive the trip home
Plan the record before the show, because the useful data is easy to lose in transit. Keep a single sheet per run carrying part identity, wire lot, machine and program revision, tension and pitch settings, speed, ambient conditions, and the measured results with the instrument used. Photograph the setup and the first article with a label in frame, so the images are self-identifying weeks later.
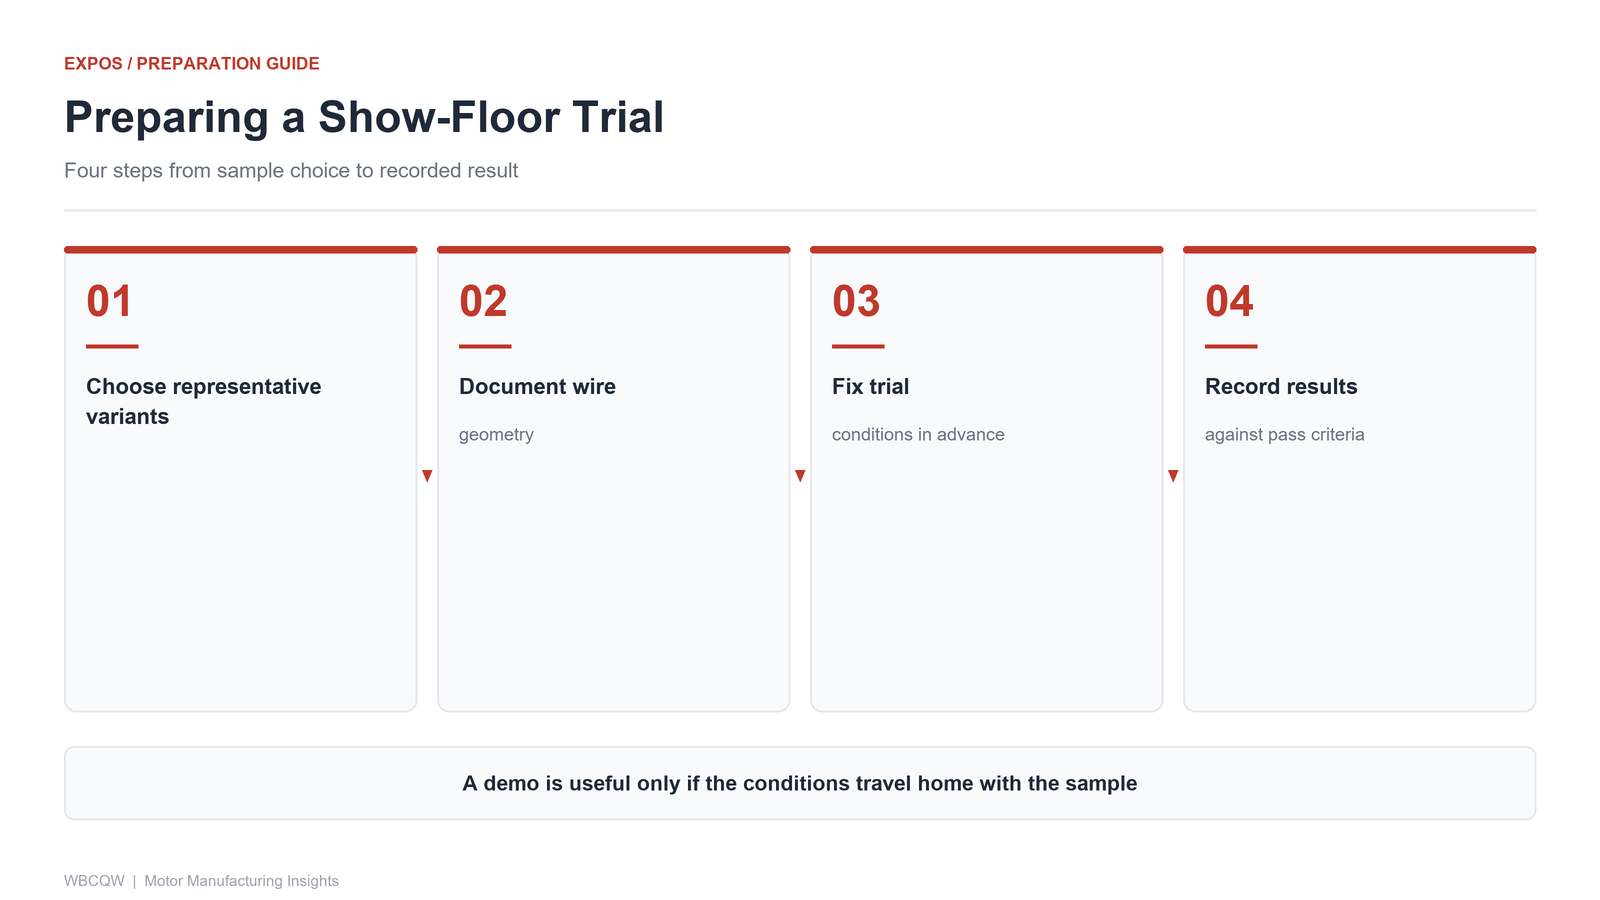
Fig. 2 - Four preparation steps before a winding trial on the show floor. Illustrative diagram, not a product photograph.
A pre-show sample checklist
A compact checklist keeps preparation repeatable. Confirm the written objective, pack representative and control variants from production tooling, attach the wire and geometry data sheets, agree conditions and pass criteria with the supplier in advance, and prepare a labelled record sheet and sample bags. Include spare samples and a second wire lot if the line runs more than one, and carry the drawing revision that the parts were made to.
The limits of a show-floor trial should be stated plainly. It is a short run on a demonstration machine under venue conditions, not a capability study, and a clean result on one part does not prove stable production across lots, shifts or operators. The preparation described here makes the result comparable and the gaps visible, but it cannot substitute for a controlled trial on the actual production machine. Its value is in narrowing the questions worth asking next.